Quick Start
The fastest way to run OpenDataMask is with Docker Compose:
git clone https://github.com/MaximumTrainer/OpenDataMask.git
cd OpenDataMask

# Generate secrets
export JWT_SECRET=$(openssl rand -base64 32)
export ENCRYPTION_KEY=$(openssl rand -base64 32 | head -c 32)

# Start all services
docker-compose up -d

# Open the UI
open http://localhost80, Backend API: 8080, PostgreSQL: 5432.Step-by-Step Setup Guide
The following walkthrough covers the full lifecycle of a masking project — from creating an account through to a completed masking job with custom PII detection rules.
verification/take_screenshots.py. Run pip install playwright && playwright install chromium then python3 verification/take_screenshots.py to regenerate them.Register & Sign In
Navigate to http://localhost to reach the login page. Click Register to create your first account, or sign in with existing credentials. All passwords are bcrypt-hashed; credentials never leave your infrastructure.
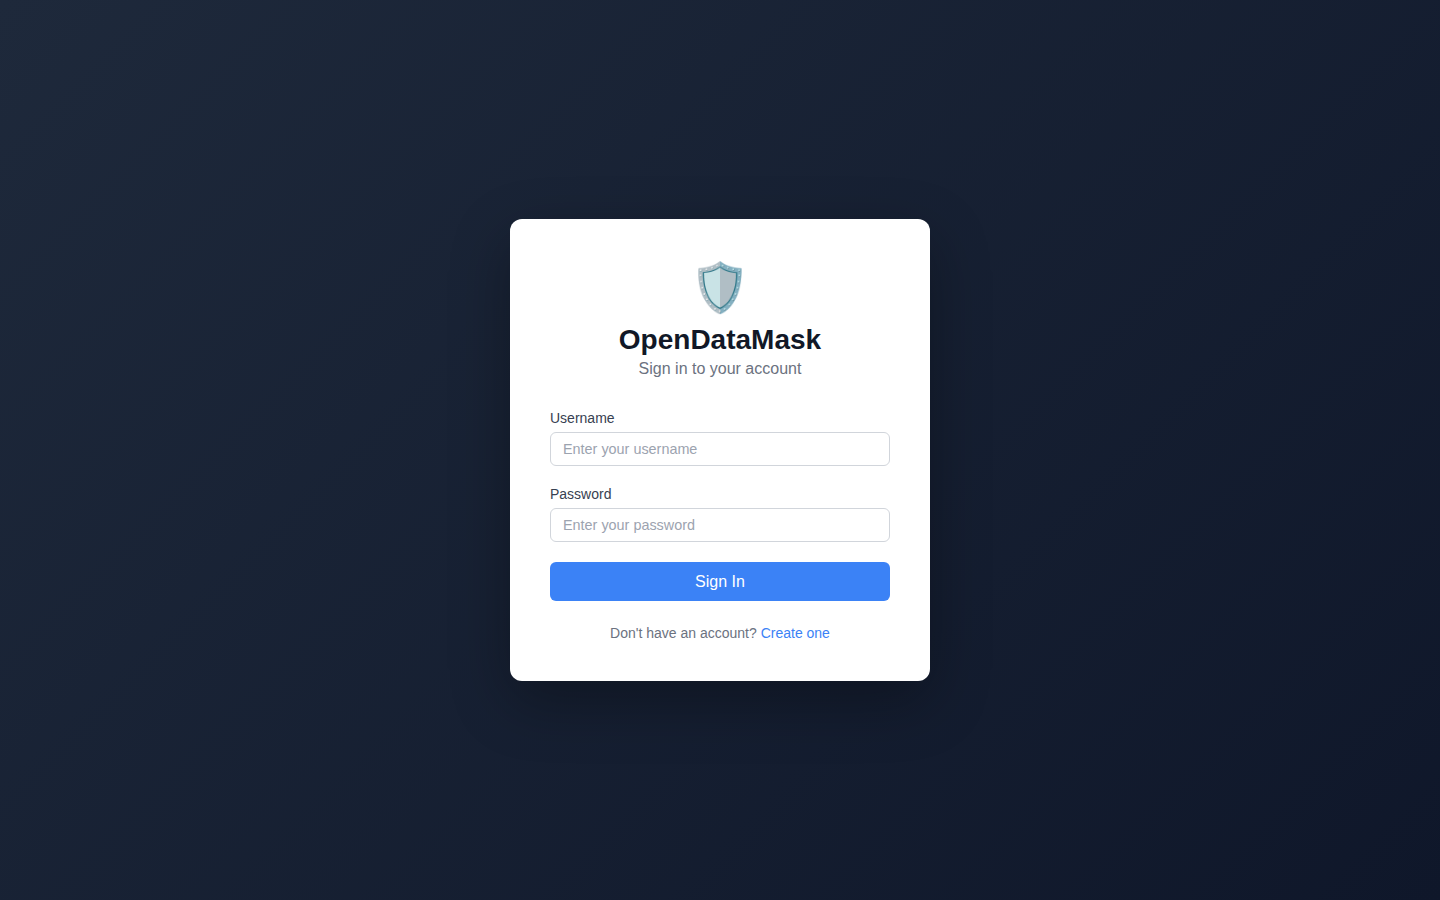
The login page — enter credentials or click Register to create a new account.
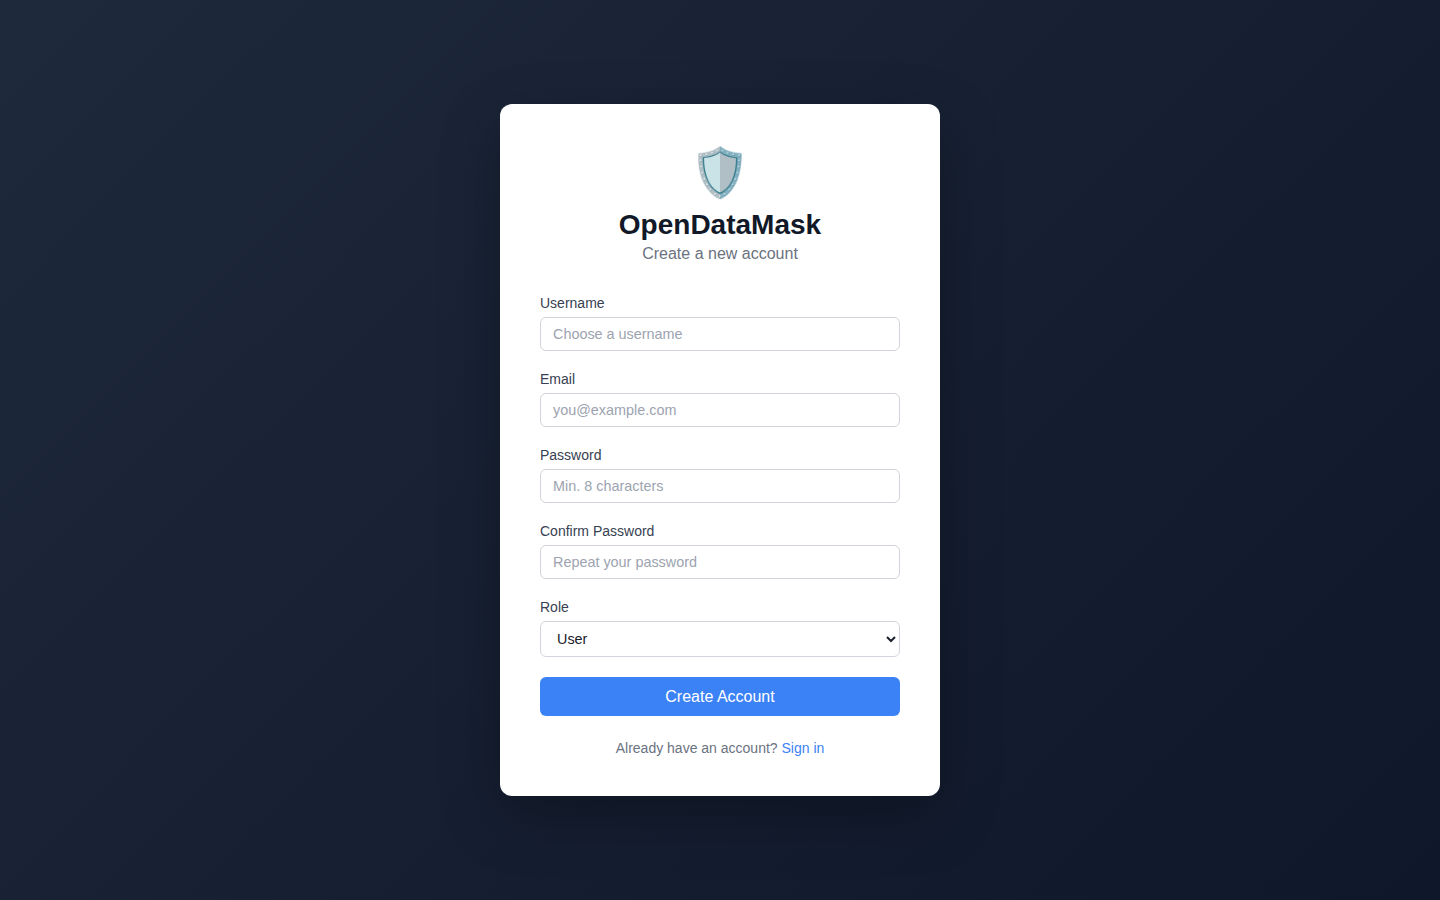
The registration form — fill in username, email, and password to create your account.
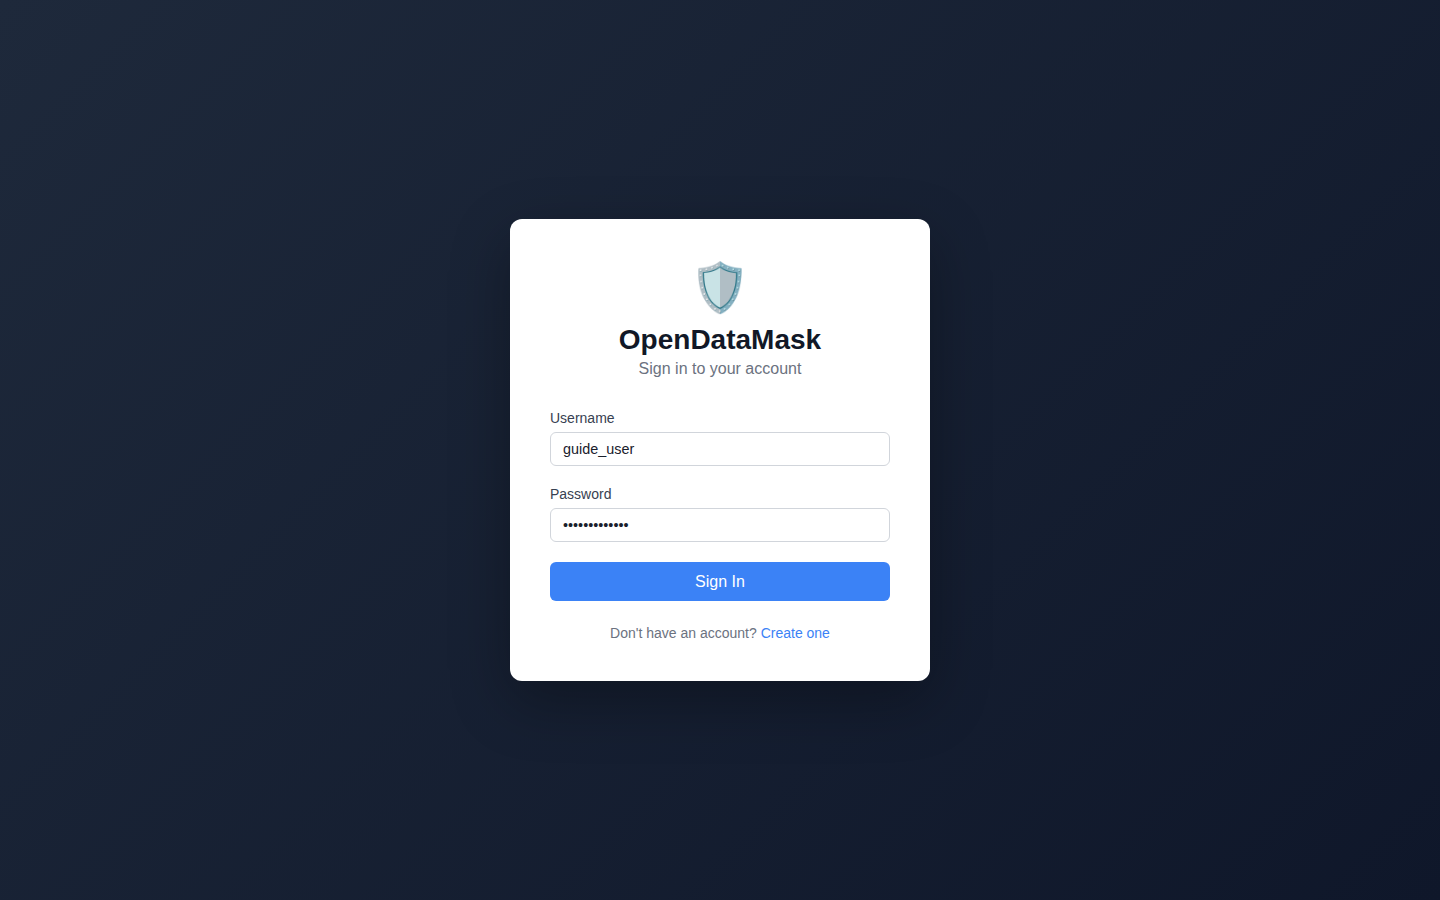
After entering credentials, click Sign In to access your workspace dashboard.
Create a Workspace
A Workspace is the top-level container for a masking project. It holds all your database connections, table configurations, data mappings, and job history. Click New Workspace, enter a name and optional description, then click Create.
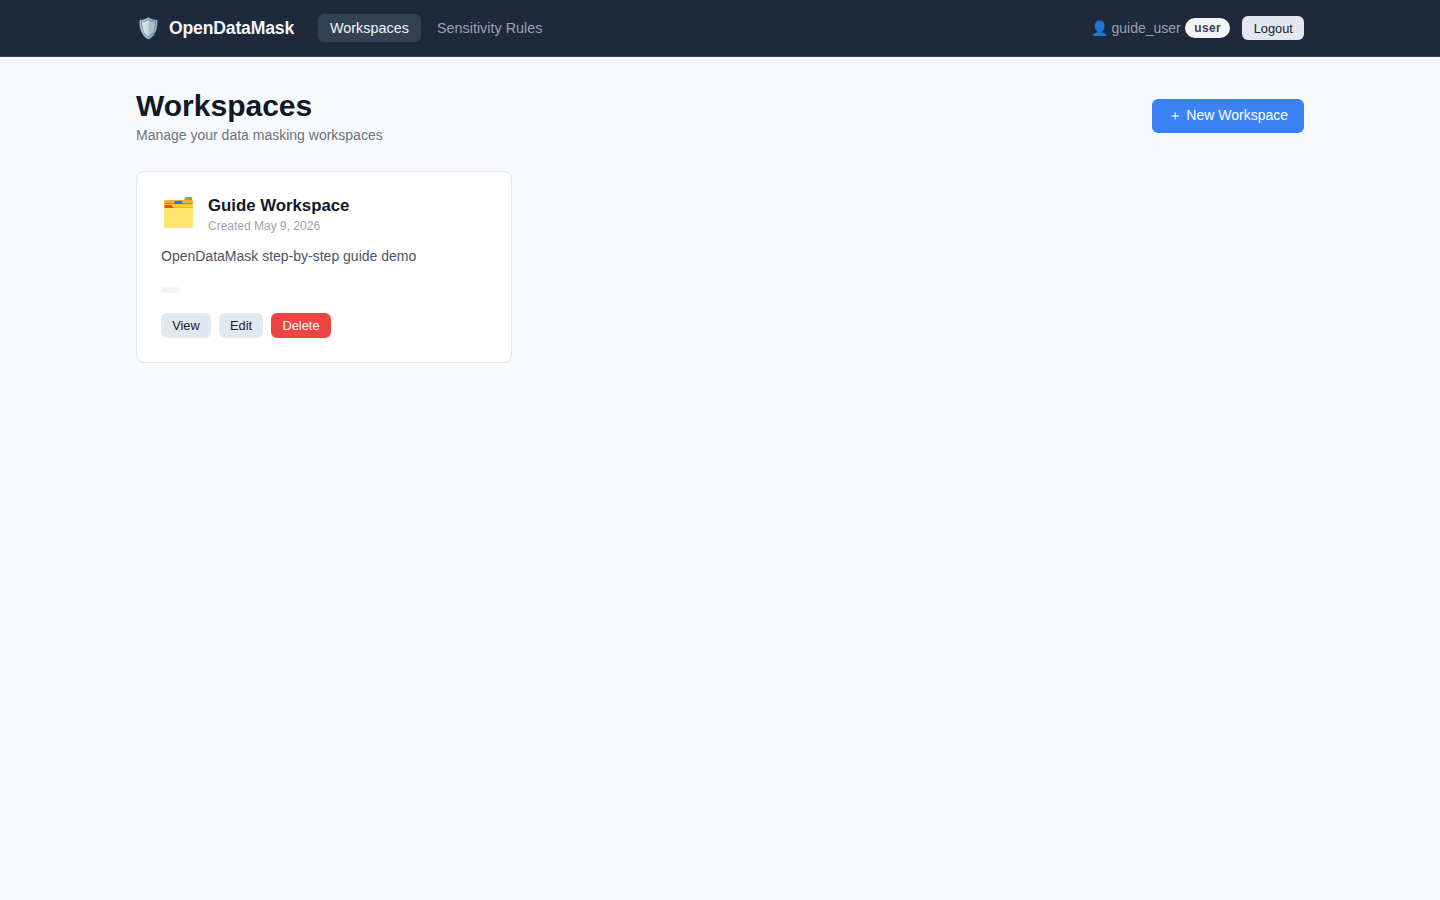
The workspace dashboard — lists all your workspaces. Click + New Workspace to create your first project.
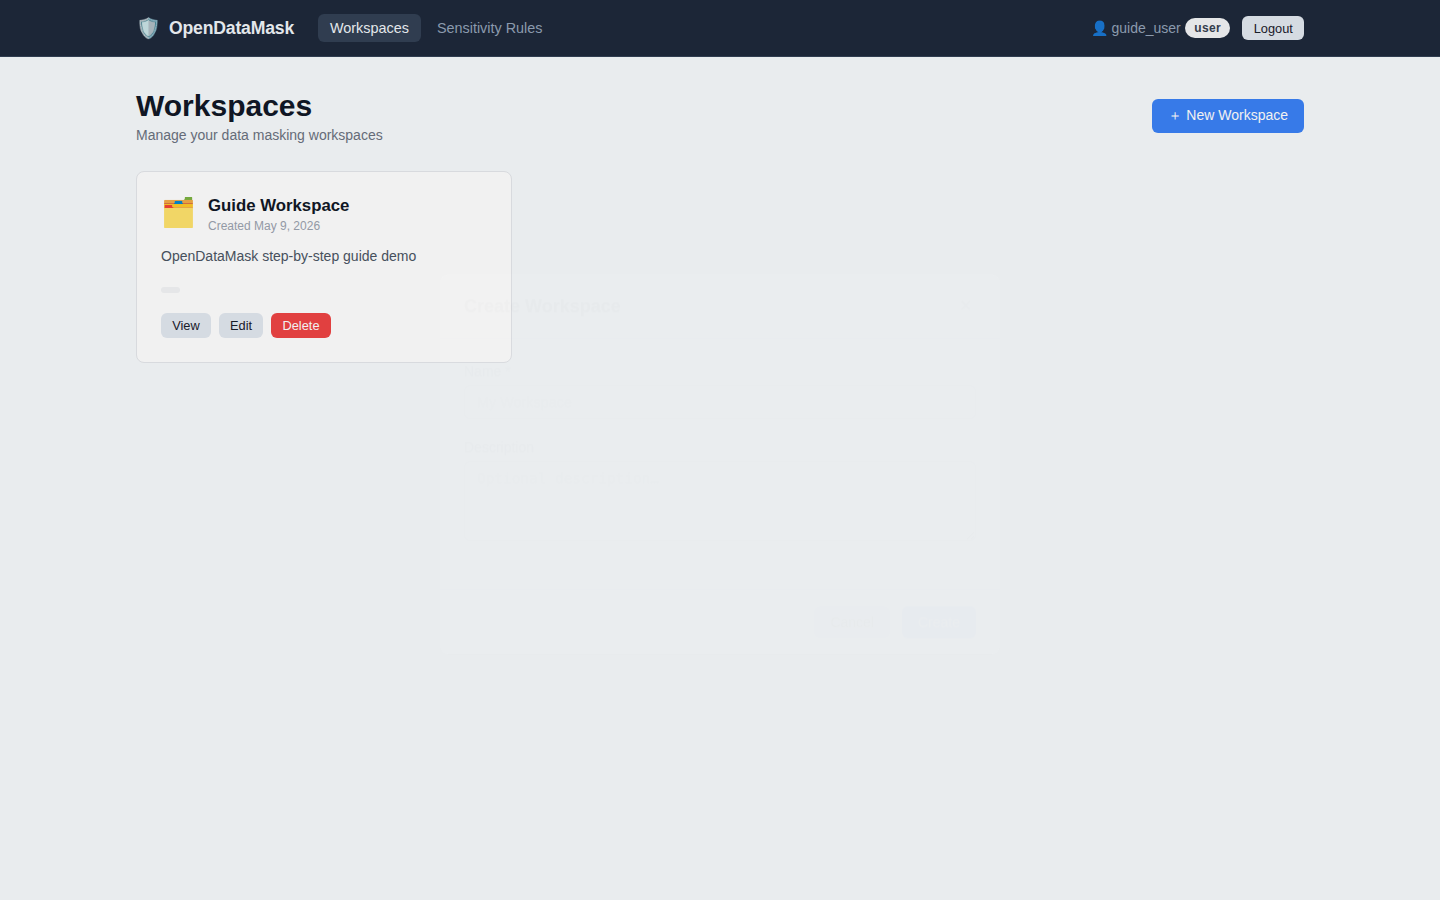
The New Workspace modal — give your project a name and optional description.
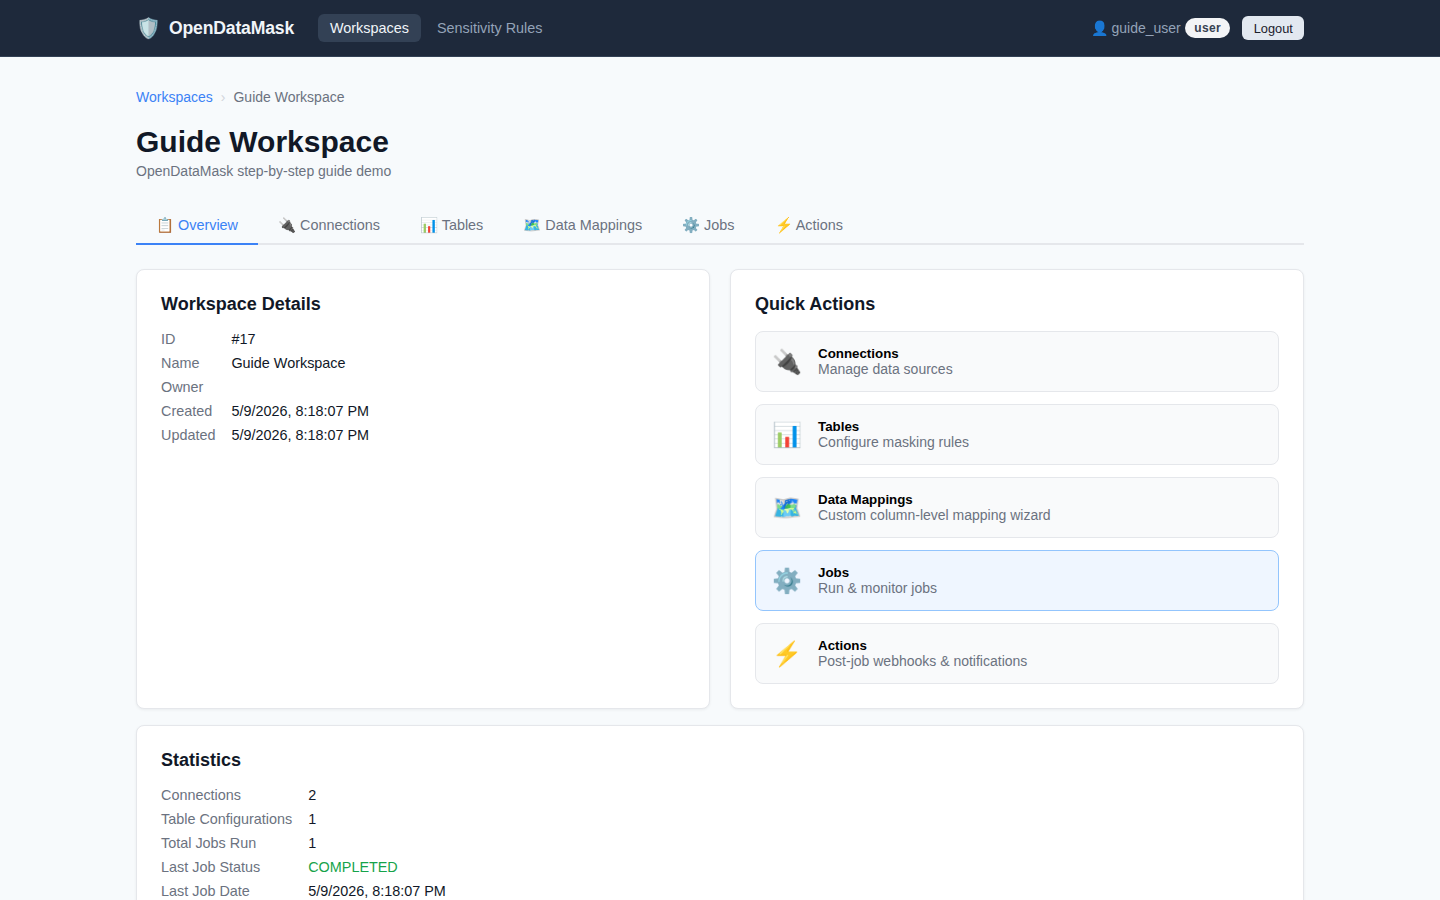
The workspace overview tab — shows a summary of connections, tables, and recent job activity.
Connect Your Databases
Navigate to the Connections tab inside your workspace. You need at least two connections: a source (production-like data) and a destination (target environment for masked data). Supported types include PostgreSQL, MySQL, Azure SQL, MongoDB, and file uploads.
For each connection, fill in:
- Name — a label used in job configuration
- Type — database engine (e.g.,
POSTGRESQL) - Host / Port / Database — connection coordinates
- Username / Password — stored encrypted with AES-256
- Role — tick Source or Destination (or both)
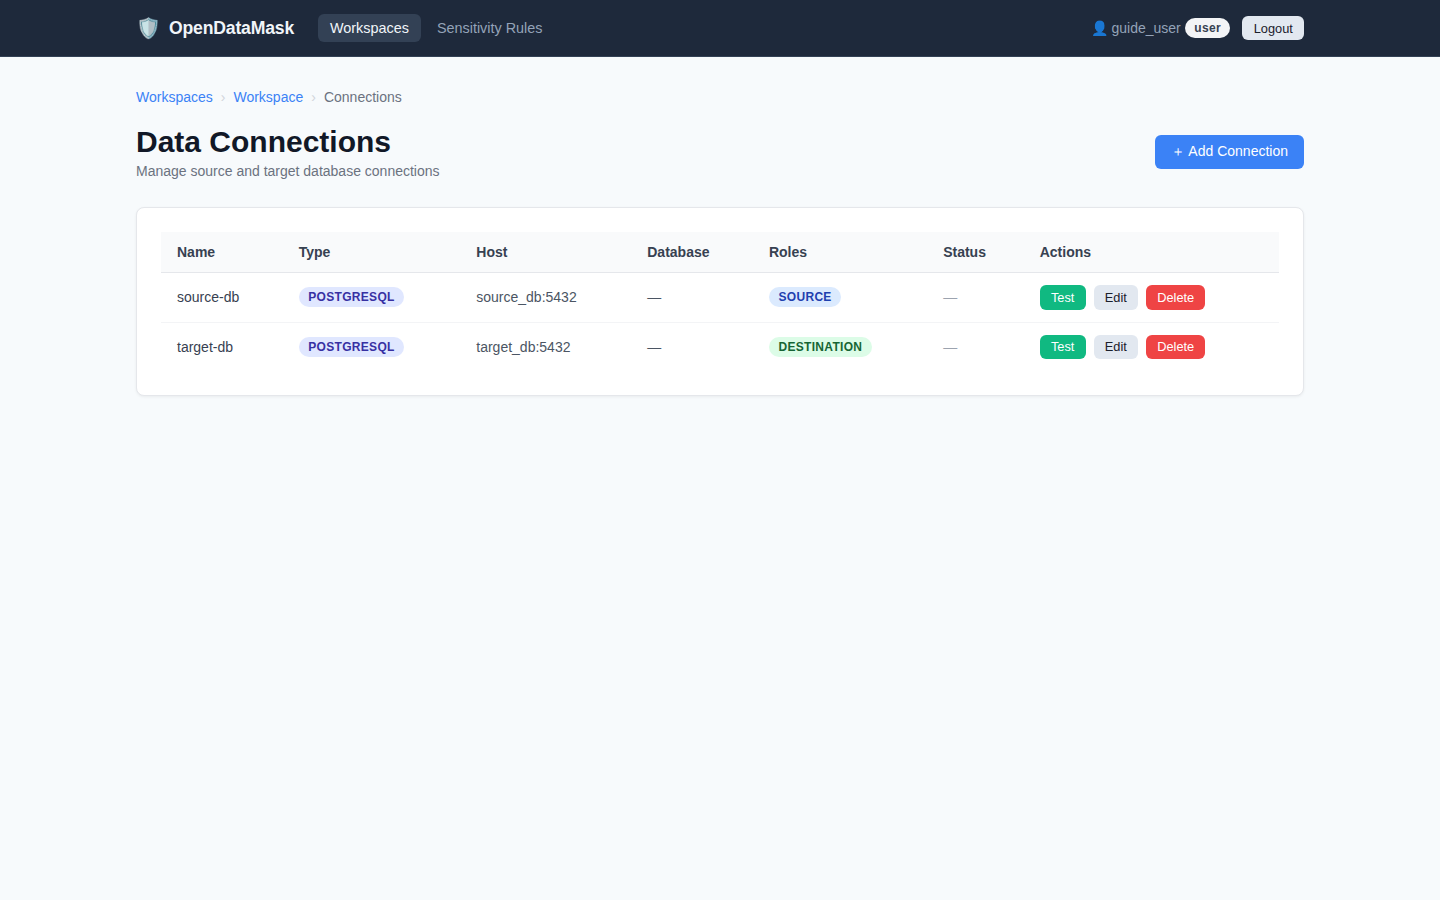
The Connections tab with source and destination databases configured — click + Add Connection to add more.
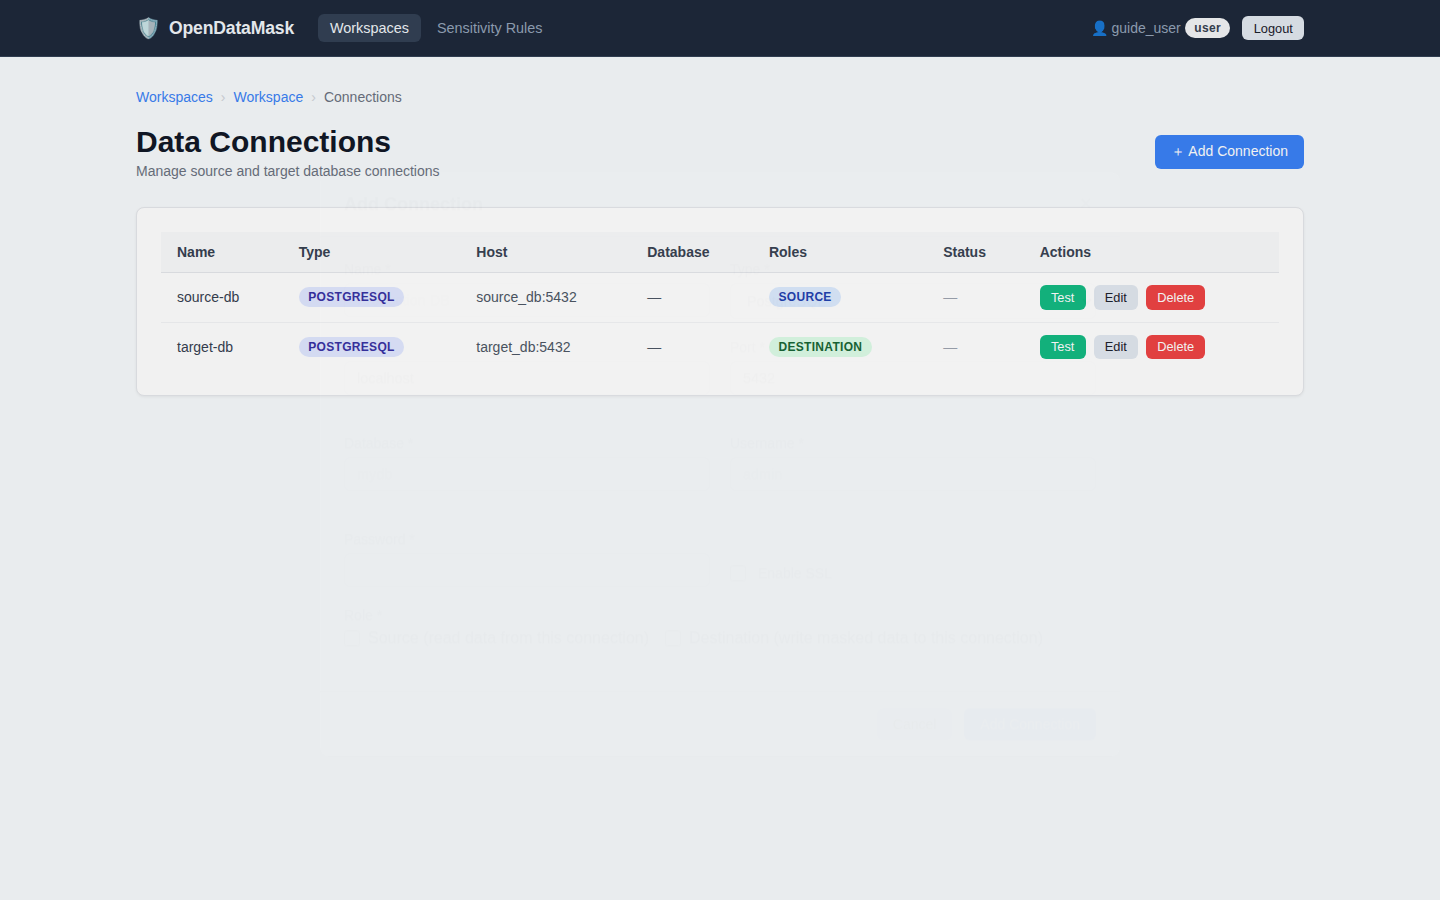
The Add Connection form — enter the host, database name, credentials, and role.
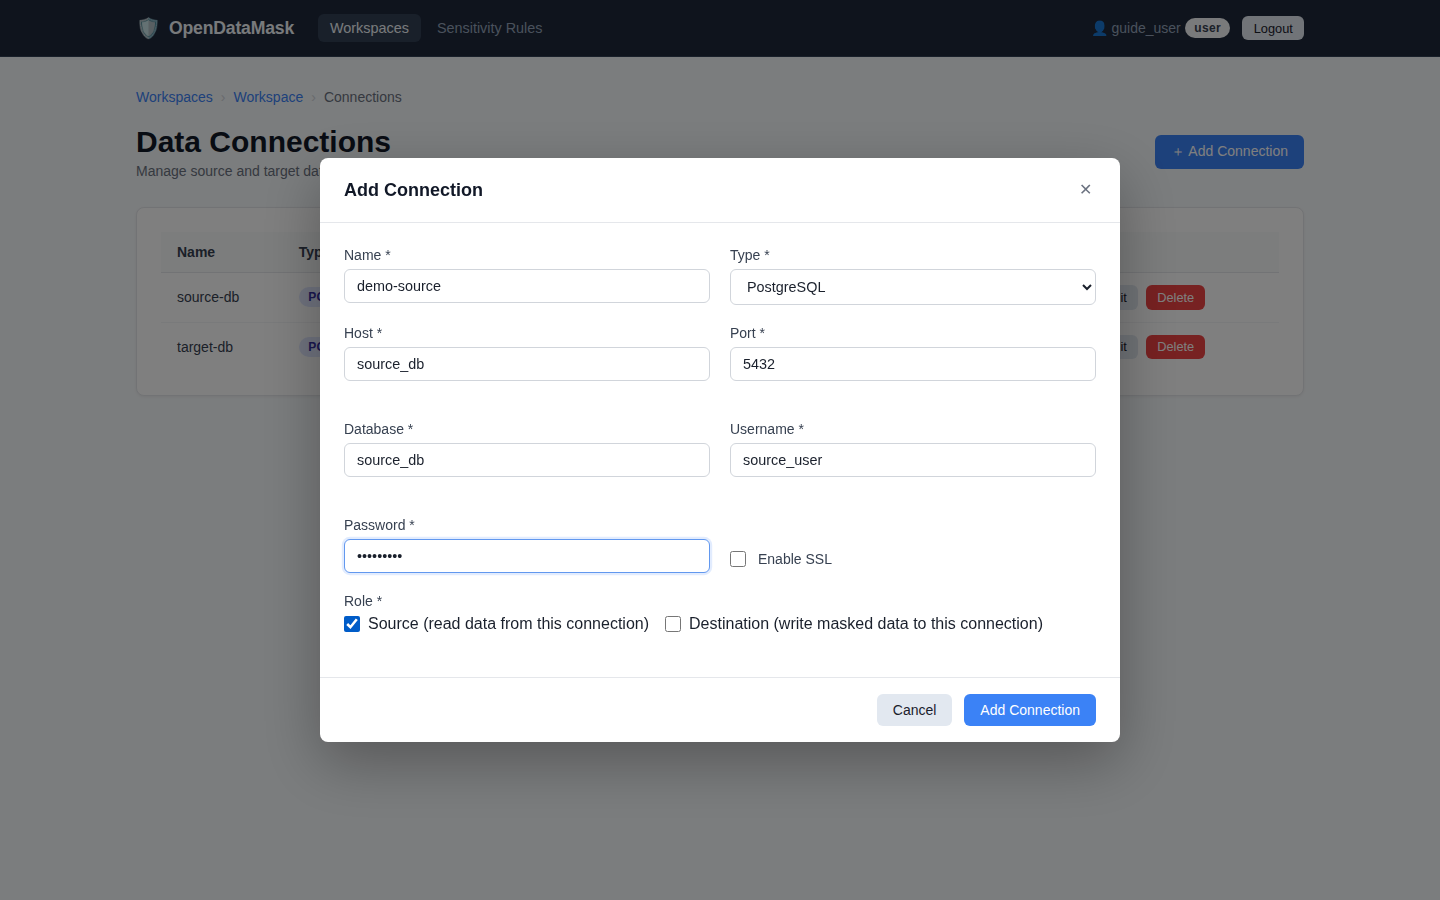
Filling in the source connection — enable the Source role toggle and click Add Connection.
Configure Tables & Column Generators
The Tables tab lets you tell OpenDataMask which tables to process and how to transform each column. For every table, choose a masking mode (MASK, GENERATE, PASSTHROUGH, or SKIP), then configure a generator for each column that should be anonymised.
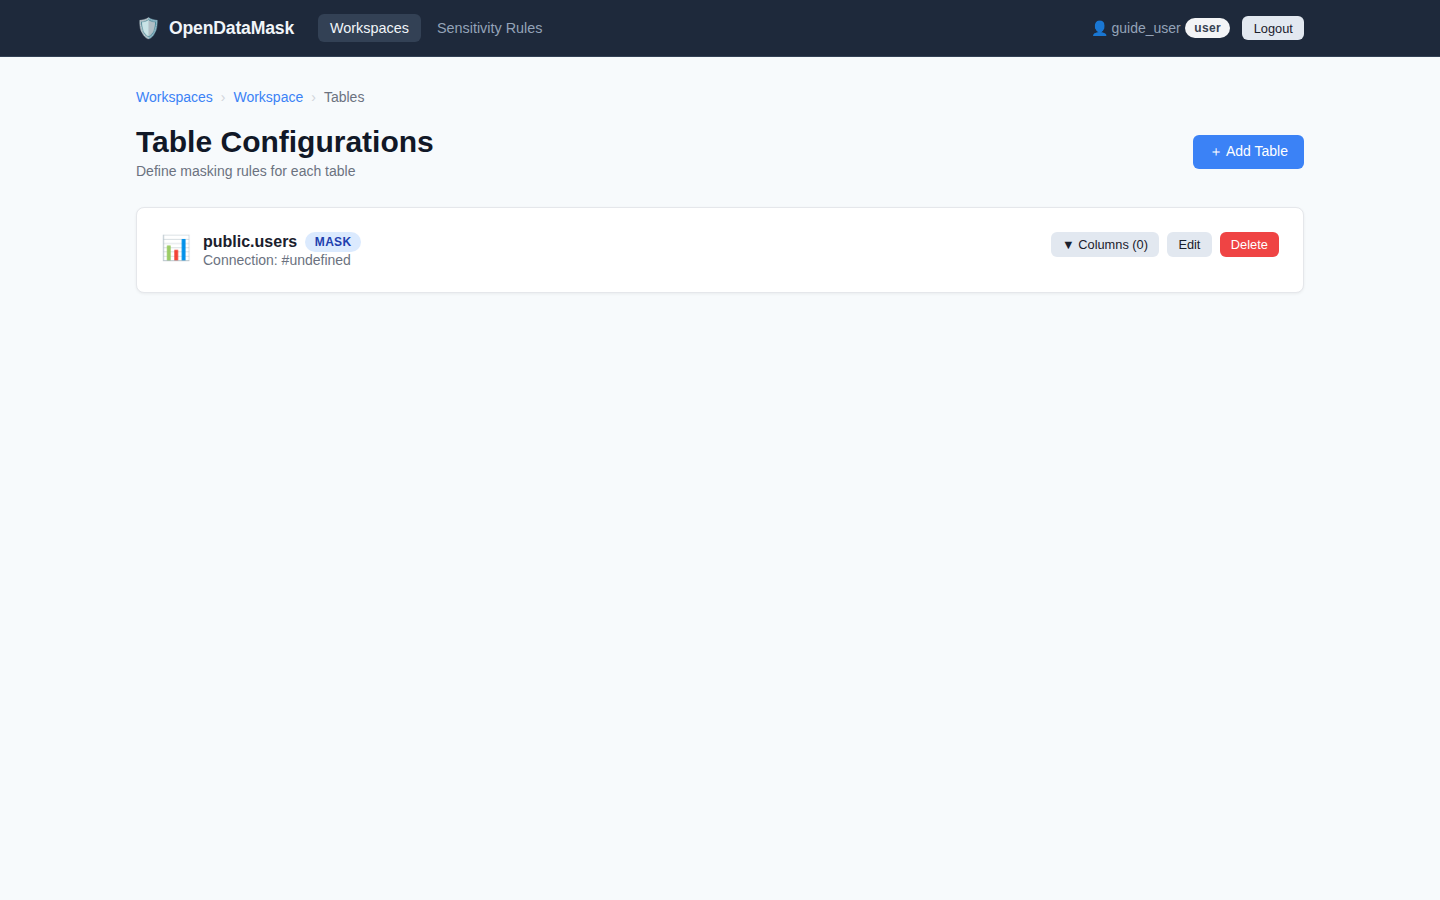
The Tables tab listing configured tables — click + Add Table to add a new one.
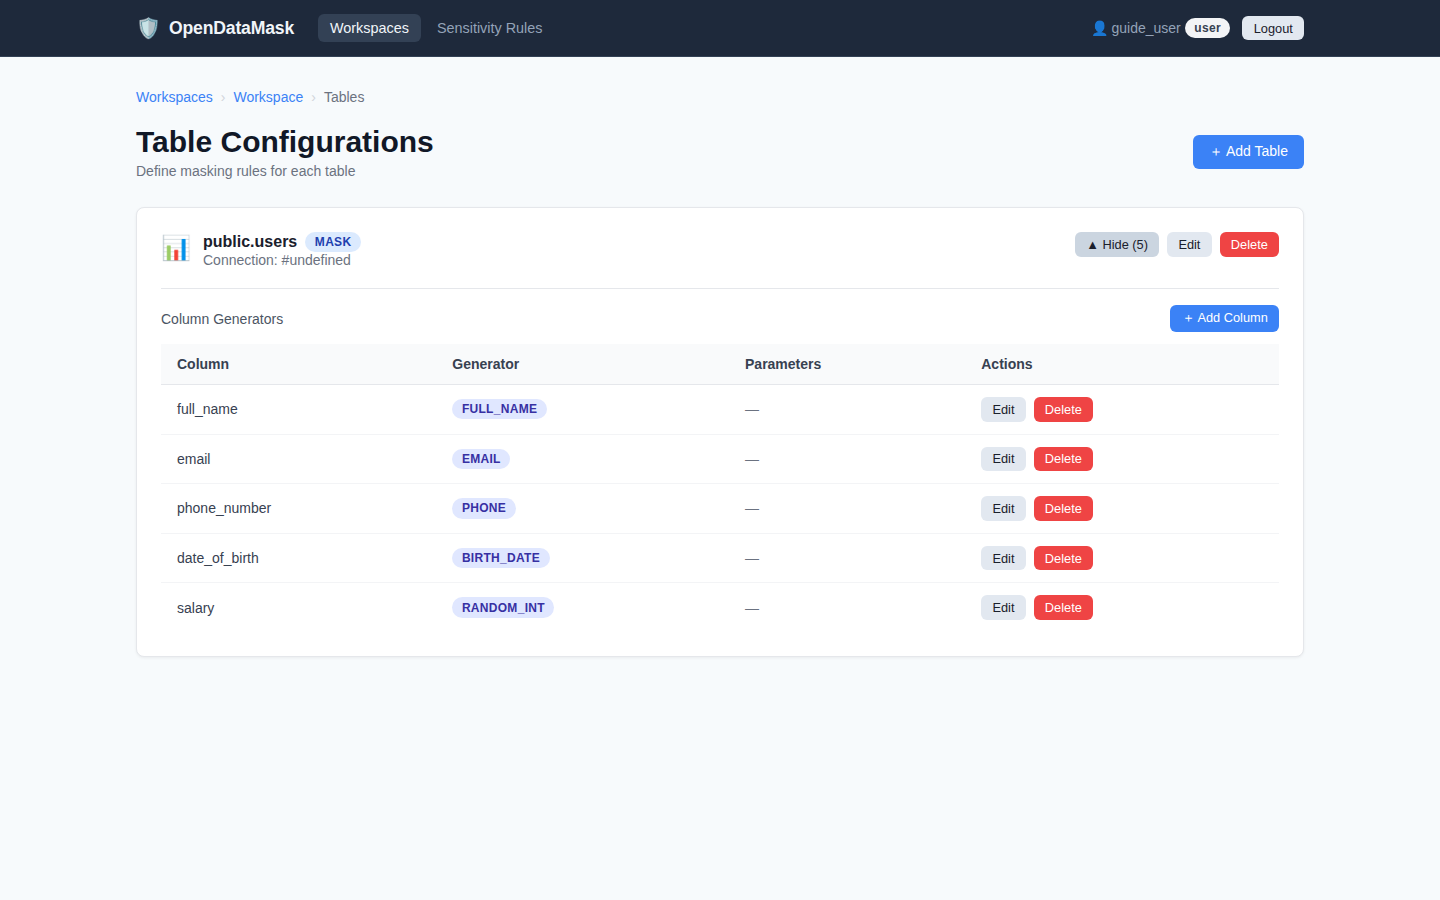
Configuring the users table — selecting MASK mode.
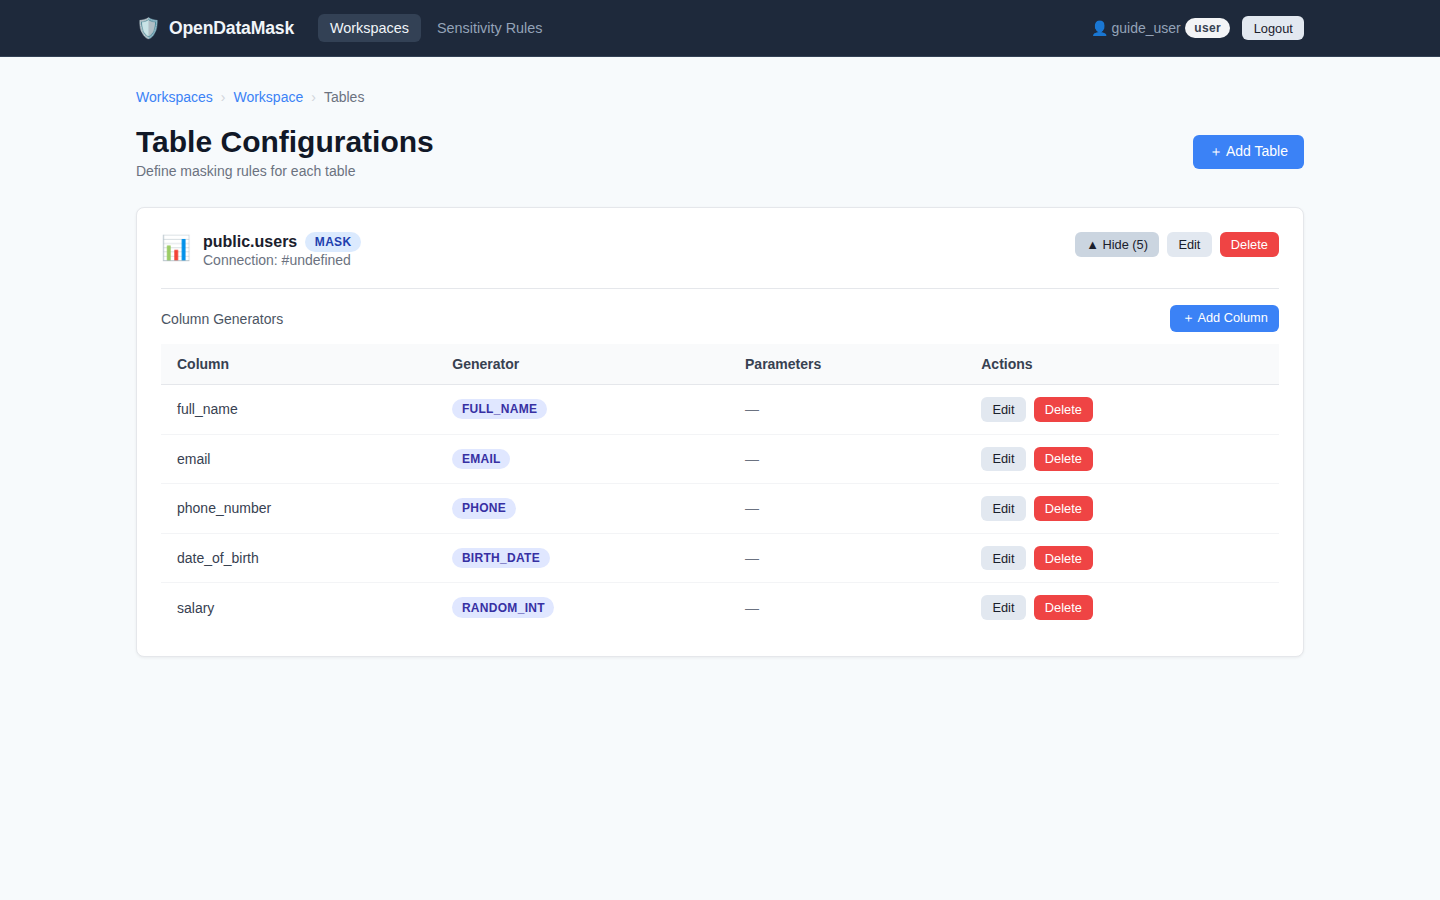
Column generators configured: full_name → FULL_NAME, email → EMAIL, phone → PHONE. Each mapped column will receive realistic synthetic data when the job runs.
Data Mappings (Advanced Column Control)
The Data Mappings tab gives you fine-grained, per-column control that overrides the table-level generator configuration. Use it to set each column to one of three actions:
- Mask — replace the value with a generated fake (choose strategy:
FAKE,HASH,NULL,REDACT,PARTIAL_MASK, orREGEX) - Migrate As-Is — copy the original value unchanged
- Omit — exclude the column entirely from the output
The wizard walks you through three steps: select a connection → select a table → configure each column.
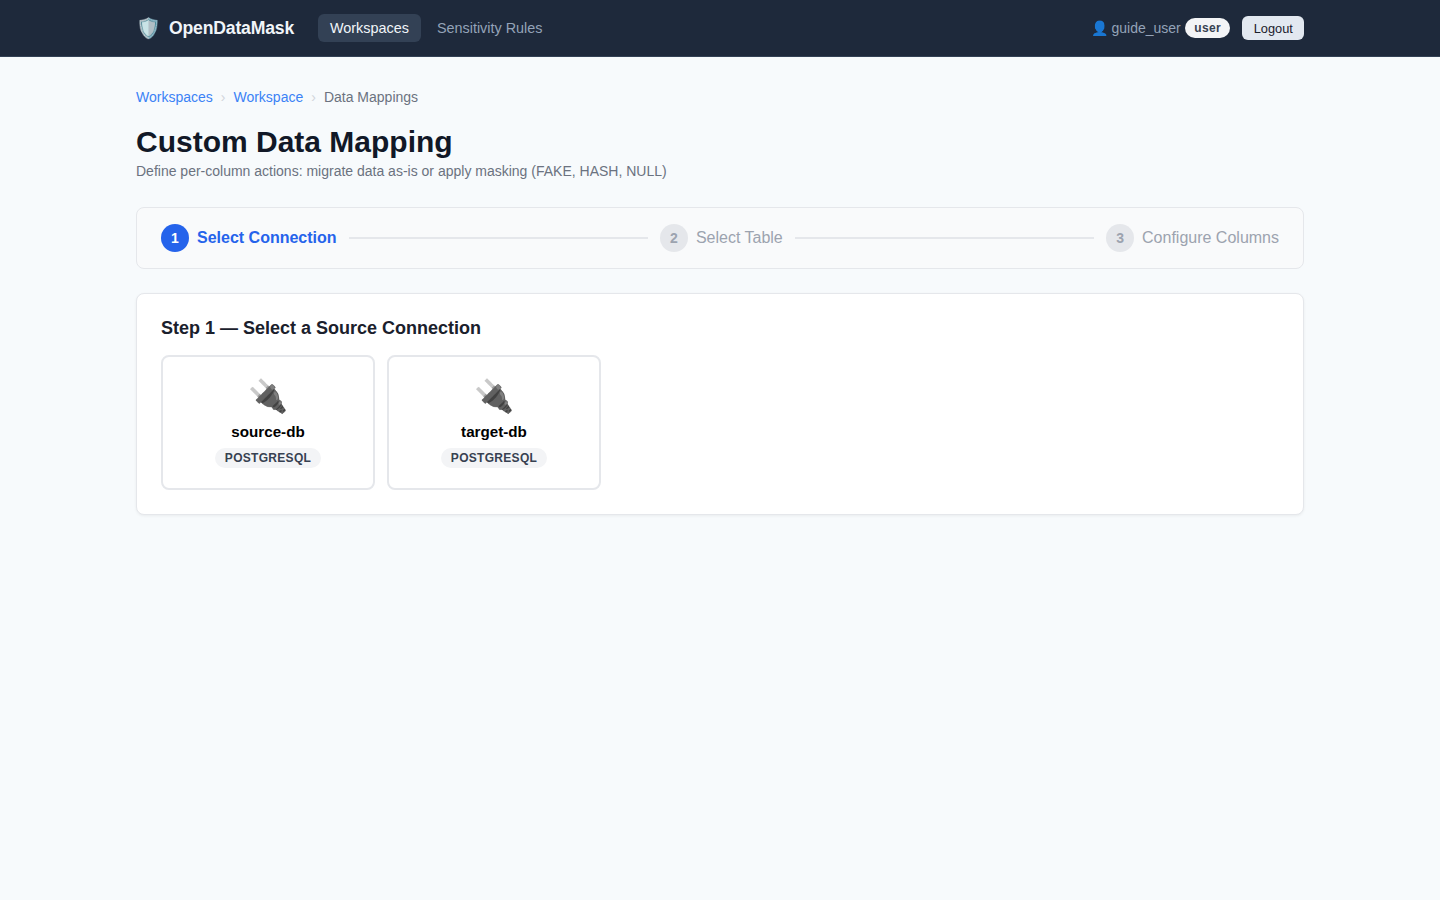
Step 1 — Choose the connection whose schema you want to configure.
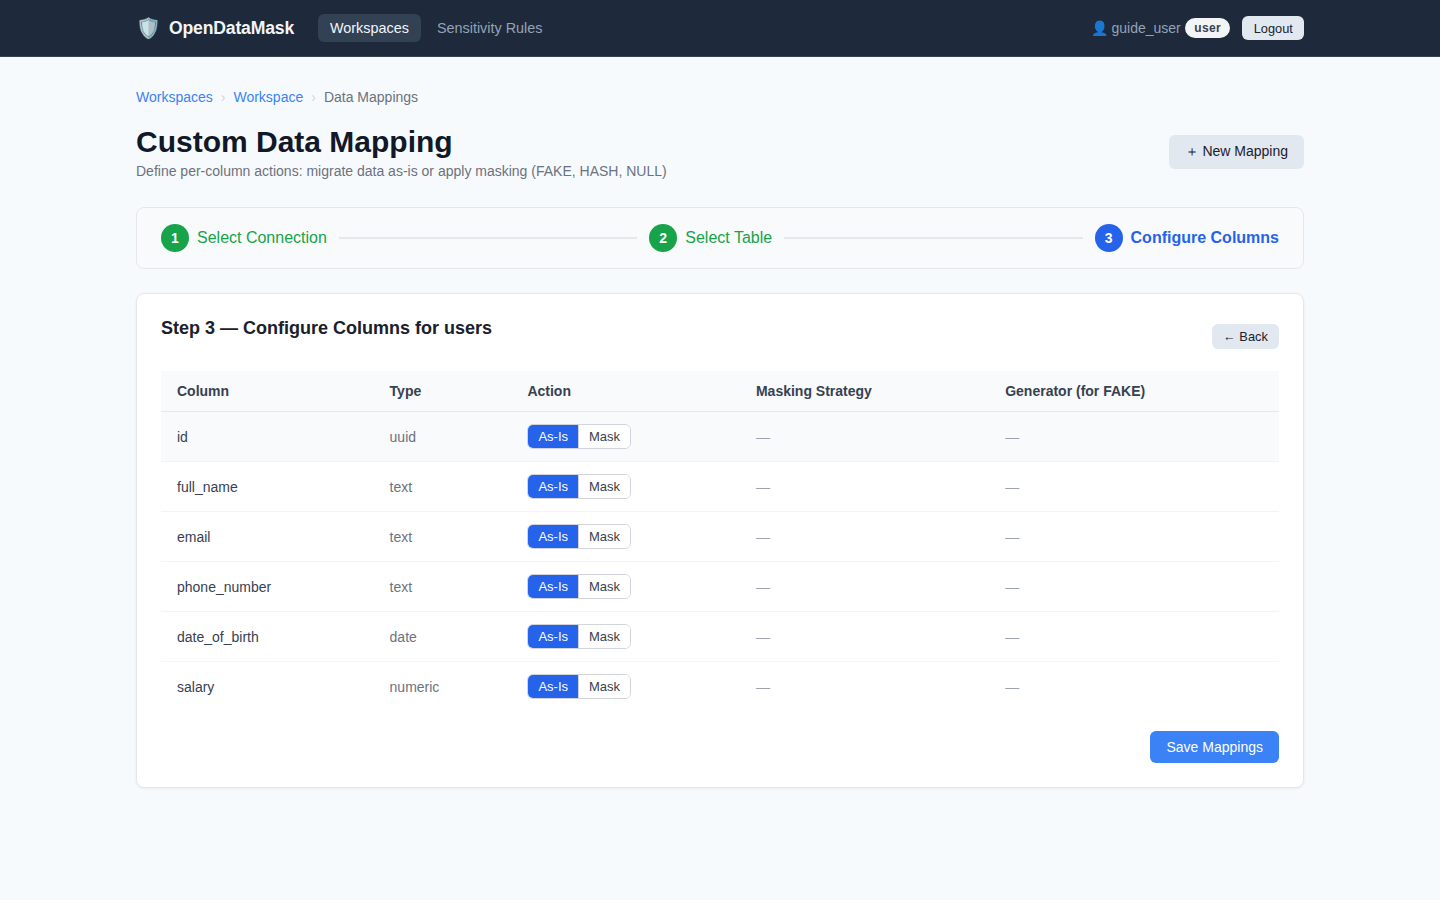
Step 2 & 3 — Select the table, then set the action and masking strategy for each discovered column. Changes are saved immediately.
Run a Masking Job
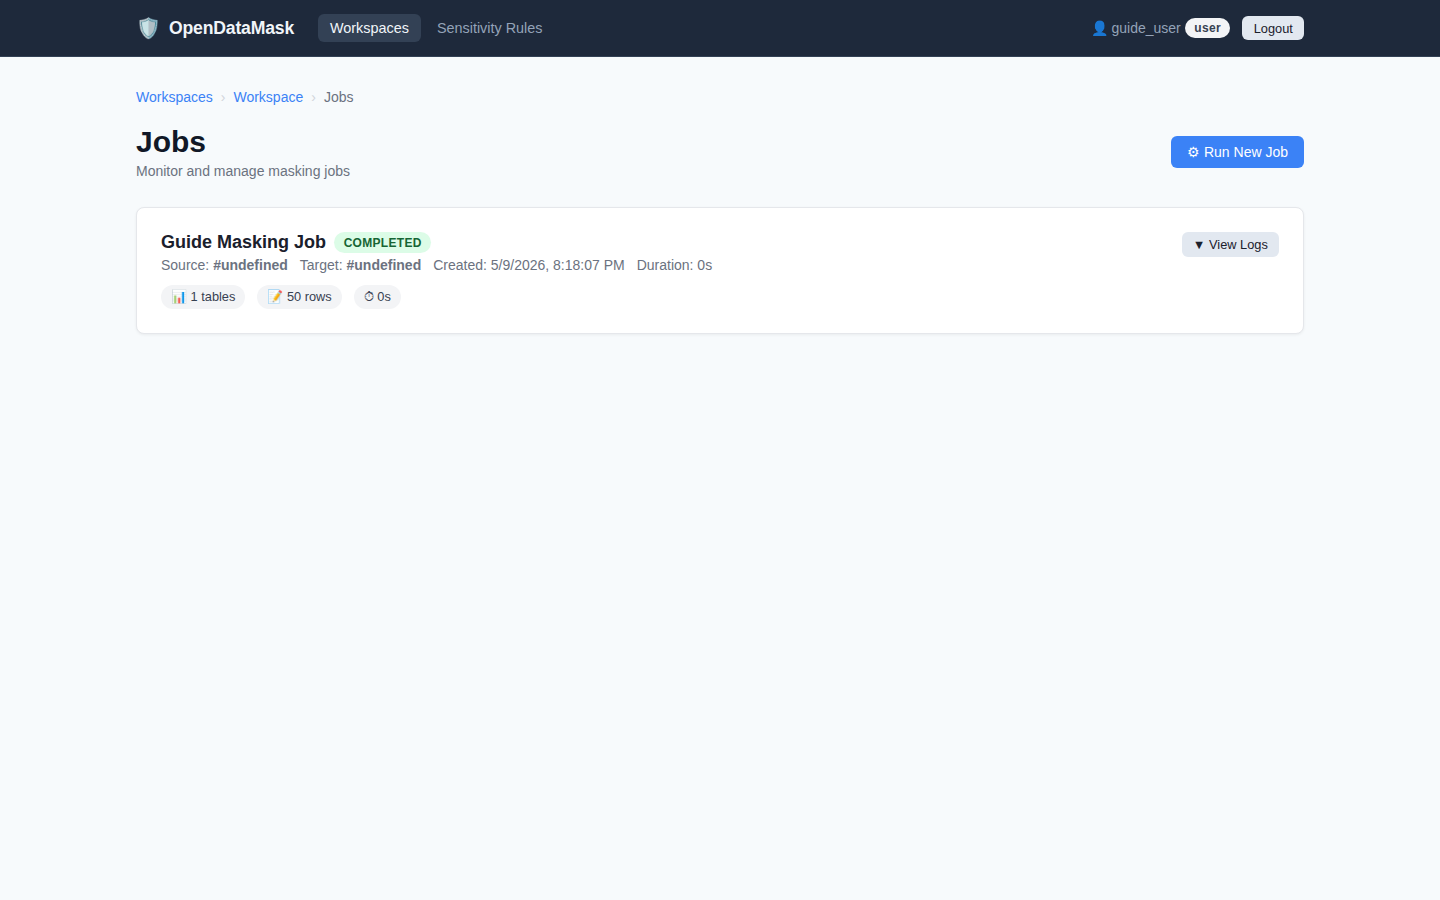
With connections and table configuration in place, go to the Jobs tab and click Run New Job. Select your source and destination connections, then click Run. The job runs asynchronously — the progress badge cycles from PENDING → RUNNING → COMPLETED (or FAILED) in real time.
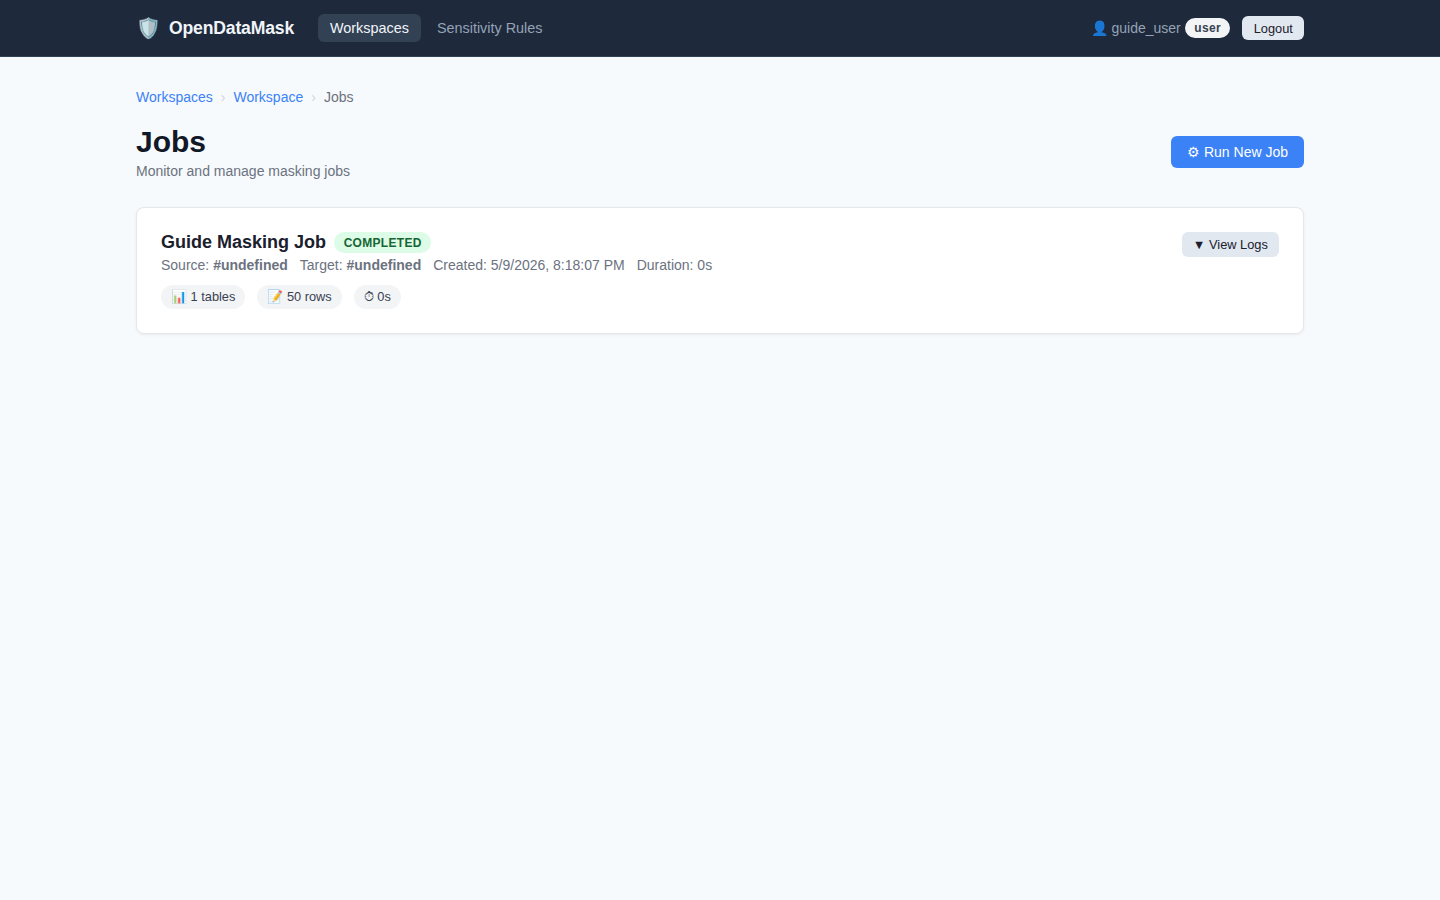
The Jobs tab — lists all past and running jobs. Click Run New Job to start a masking run.
The Run New Job modal — select the source and destination connections, then click Run.
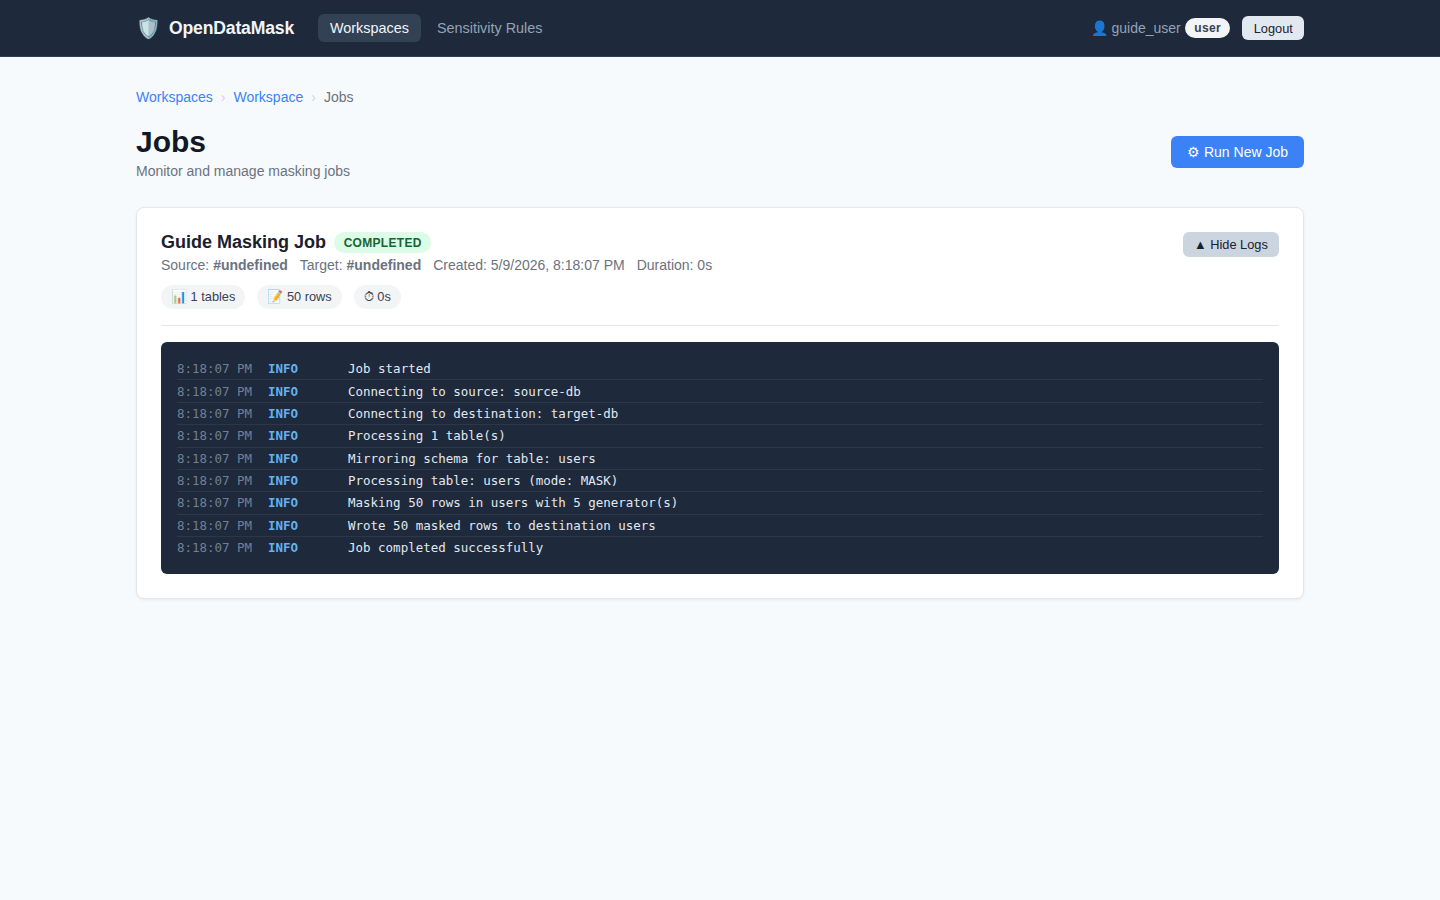
Expanding the job log shows per-table row counts and any warnings raised during masking.
verification/verify.py script automates this check — it validates that PII columns contain synthetic data, primary keys are preserved, and no original values leaked through.Custom PII Detection Rules
OpenDataMask ships with built-in sensitivity detection for common PII (email addresses, phone numbers, SSNs, etc.). The Sensitivity Rules page under Settings lets you define your own detection rules for domain-specific identifiers — for example, an internal employee ID format or a proprietary customer reference number.
Each custom rule has:
- Name — displayed in scan reports and data mapping labels
- Matchers — column-name patterns and/or regex patterns that identify the PII type
- Data type filter — optionally restrict the rule to text, numeric, or date columns
- Linked preset — optionally auto-apply a masking strategy when the rule fires
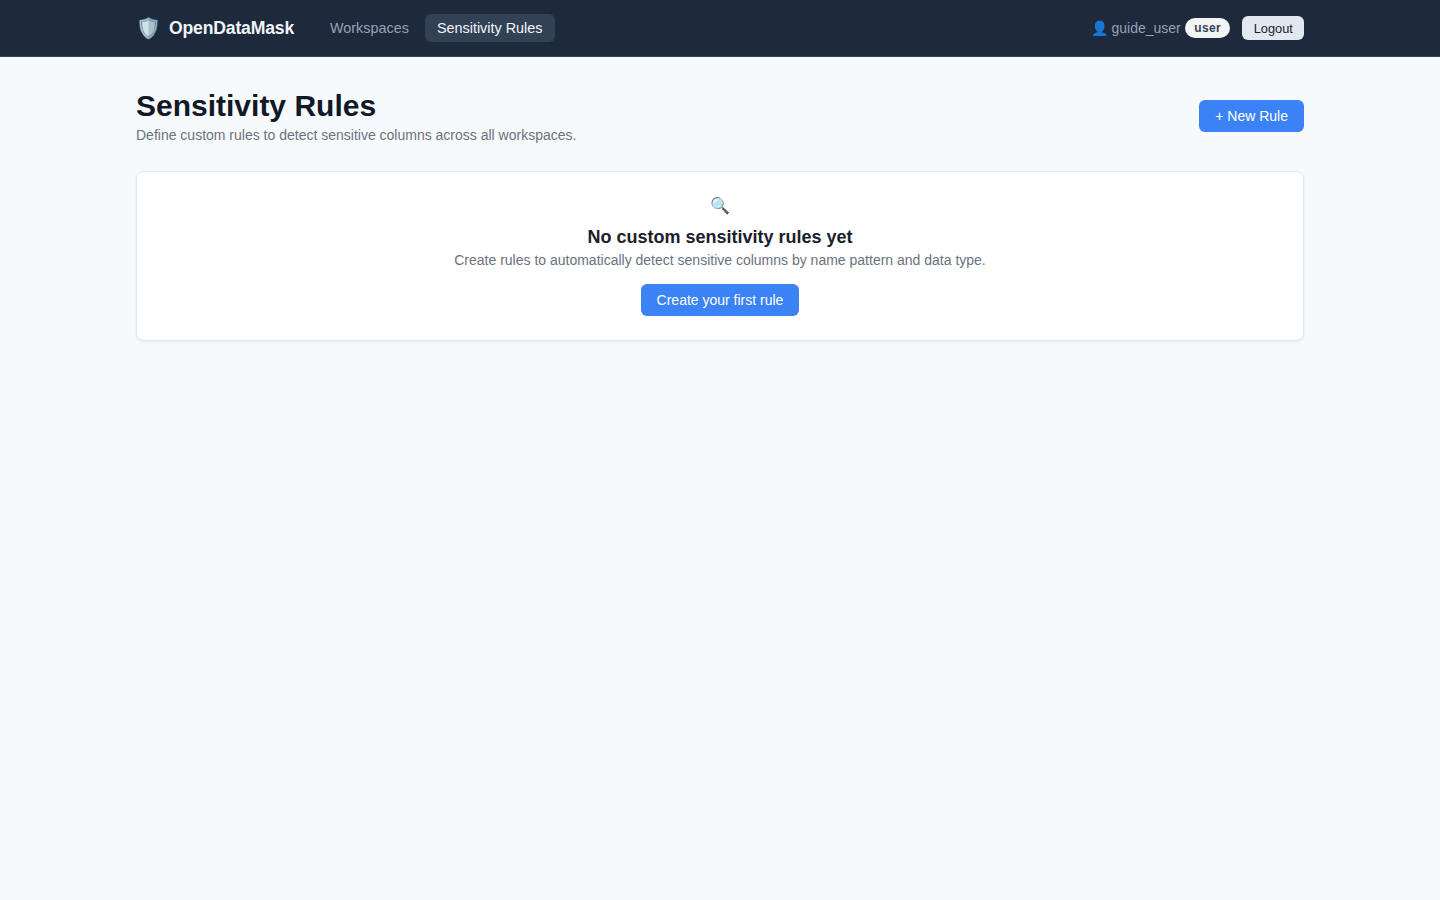
The Sensitivity Rules settings page — lists all built-in and custom PII detection rules.
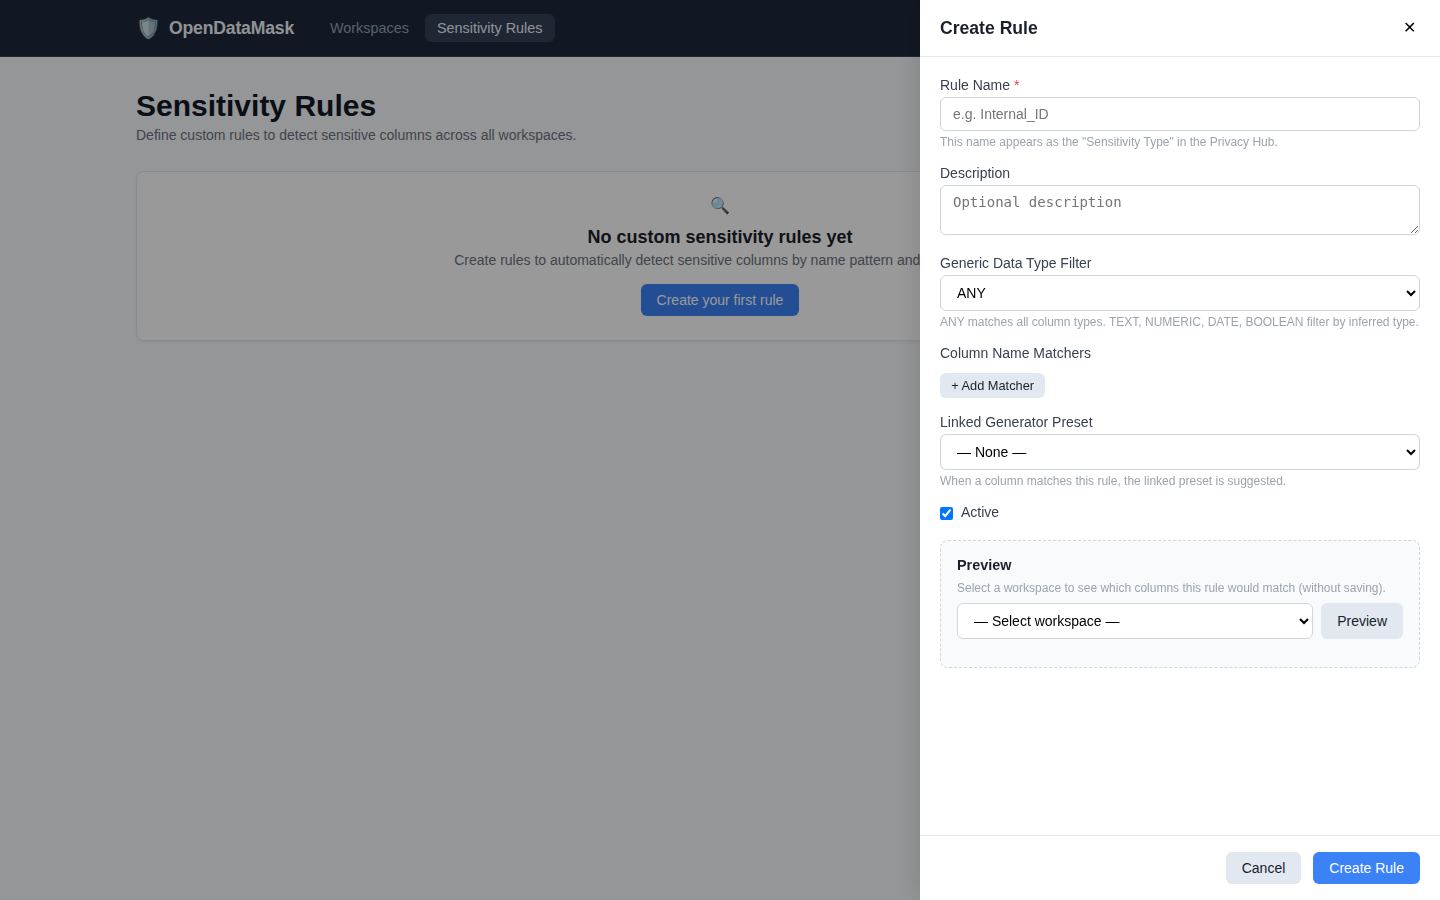
The New Rule side panel — give the rule a name and add one or more column-name matchers.
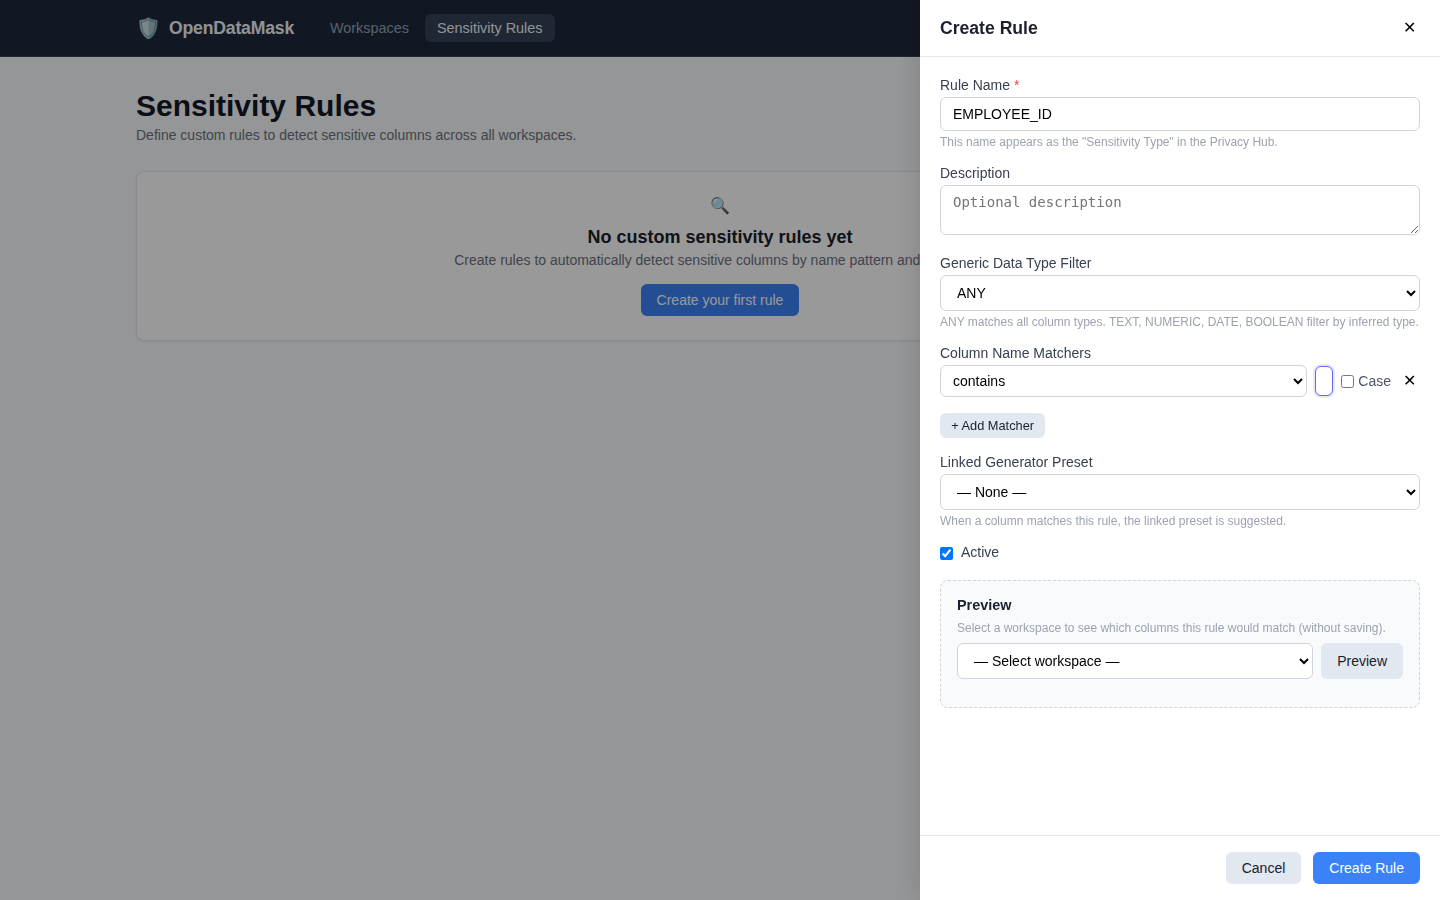
A custom rule targeting columns named employee_id — the next sensitivity scan will flag matching columns and recommend a masking strategy.
Prerequisites
| Requirement | Version | Notes |
|---|---|---|
| JDK | 17+ | Temurin/OpenJDK recommended |
| Docker & Docker Compose | 20.10+ | For containerised deployment |
| PostgreSQL | 15+ | Production metadata store |
| Node.js | 20+ | Frontend development only |
| Go | 1.21+ | CLI build from source only |
Installation & Build
Backend (Kotlin / Spring Boot)
cd backend
./gradlew build --no-daemon          # build + test
./gradlew bootRun --no-daemon        # run locally
Frontend (Vue 3)
cd frontend
npm ci                               # install dependencies
npm run dev                          # dev server (port 5173)
npm run build                        # production build
CLI (Go)
cd cli
go build -o odm .
./odm --help
Configuration
All sensitive configuration is supplied via environment variables:
| Variable | Required | Description |
|---|---|---|
DATABASE_URL | Yes | JDBC URL for PostgreSQL |
DATABASE_USERNAME | Yes | PostgreSQL username |
DATABASE_PASSWORD | Yes | PostgreSQL password |
JWT_SECRET | Yes | JWT signing secret (min 32 chars) |
ENCRYPTION_KEY | Yes | Credential encryption key (16 or 32 chars) |
SERVER_PORT | No | Backend port (default: 8080) |
MONGODB_URI | No | MongoDB URI when masking MongoDB sources |
Core Concepts
Supported Database Connections
| Type | Key | Connection String Format |
|---|---|---|
| PostgreSQL | POSTGRESQL | jdbc:postgresql://<host>:<port>/<database> |
| MySQL | MYSQL | jdbc:mysql://<host>:<port>/<database> |
| Azure SQL | AZURE_SQL | jdbc:sqlserver://<server>.database.windows.net:1433;databaseName=<db> |
| MongoDB | MONGODB | mongodb://<host>:<port>/<database> |
| MongoDB Cosmos DB | MONGODB_COSMOS | mongodb://<account>.mongo.cosmos.azure.com:10255/<db>?ssl=true&... |
| File (CSV/JSON) | FILE | Uploaded via the UI |
For Azure SQL, TLS encryption is enabled automatically and credentials are provided separately from the connection string. The mssql-jdbc driver is bundled — no extra installation needed.
Workspaces
A Workspace is the top-level scope for a masking project. It contains connections, table configurations, jobs, data mappings, and custom PII rules. Workspaces can inherit configuration from a parent workspace for multi-environment setups.
Masking Modes
| Mode | Description |
|---|---|
MASK | Replace column values with generated fake data using the configured generator |
GENERATE | Generate an entirely new row set regardless of source data |
PASSTHROUGH | Copy data without any modification |
SUBSET | Copy a filtered or sampled subset of rows |
SKIP | Exclude the table from processing entirely |
Data Mapping Actions
| Action | Description |
|---|---|
MASK | Replace the column value using the configured masking strategy |
MIGRATE_AS_IS | Copy the original value to the destination unchanged |
Masking Strategies
| Strategy | Description | Example output |
|---|---|---|
FAKE | Replace with realistic synthetic data from the selected generator | John Smith |
HASH | Deterministic SHA-256 hash (consistent across runs) | a3f1b2c… |
NULL | Replace with a SQL NULL value | NULL |
REDACT | Replace with a fixed redaction string (e.g., [REDACTED]) | [REDACTED] |
PARTIAL_MASK | Mask all but the first or last N characters | john****@****.com |
REGEX | Apply a find-and-replace regex transformation | configurable |
Generator Types
OpenDataMask includes 63+ built-in generators covering personal, financial, medical, and network data:
| Category | Generators |
|---|---|
| Personal | NAME, FIRST_NAME, LAST_NAME, FULL_NAME, EMAIL, PHONE, BIRTH_DATE, GENDER, TITLE, JOB_TITLE, NATIONALITY |
| Address | ADDRESS, STREET_ADDRESS, CITY, STATE, ZIP_CODE, COUNTRY, GPS_COORDINATES, LATITUDE, LONGITUDE, TIME_ZONE |
| Identity | SSN, PASSPORT_NUMBER, DRIVERS_LICENSE, MEDICAL_RECORD_NUMBER |
| Financial | CREDIT_CARD, IBAN, SWIFT_CODE, MONEY_AMOUNT, BTC_ADDRESS, ACCOUNT_NUMBER, CURRENCY_CODE |
| Network | IP_ADDRESS, IPV6_ADDRESS, MAC_ADDRESS, URL, DOMAIN_NAME, USER_AGENT |
| Business | ORGANIZATION, COMPANY_NAME, DEPARTMENT |
| Medical | ICD_CODE, HEALTH_PLAN_NUMBER |
| Data Utilities | BOOLEAN, LOREM, TIMESTAMP |
| Control | NULL, CONSTANT, PARTIAL_MASK, FORMAT_PRESERVING, SEQUENTIAL, RANDOM_INT, HASH, SCRAMBLE |
CLI Usage
# Authenticate
odm auth login --url http://localhost:8080 \
  --username admin --password secret

# Workspaces
odm workspace list
odm workspace get <workspace-id>

# Jobs
odm job list --workspace <workspace-id>
odm job run  --workspace <workspace-id>
Privacy & Compliance
The Privacy Hub dashboard shows:
- Total sensitive columns detected vs. masked
- Actionable recommendations (e.g., "Add EMAIL generator to
users.email") - Exportable JSON compliance reports for GDPR / CCPA / HIPAA audits
Run Apply Recommendations to automatically assign generators to all unmasked sensitive columns in one click.
Troubleshooting
| Symptom | Fix |
|---|---|
JWT_SECRET must be set | Set the JWT_SECRET environment variable before starting |
| Backend fails to start | Ensure PostgreSQL is running and DATABASE_URL is correct |
| Connection refused on port 8080 | Run docker-compose logs backend to check for errors |
| Sensitivity scan finds nothing | Add table configurations first, then re-run the scan |
| Job fails with "no source connection" | Ensure at least one connection is marked as a Source role in the workspace |
| Screenshots not generated | Run pip install playwright && playwright install chromium then re-run take_screenshots.py with the frontend running |